Guide to improving your hoppy beers by Nick Holt
The Hops
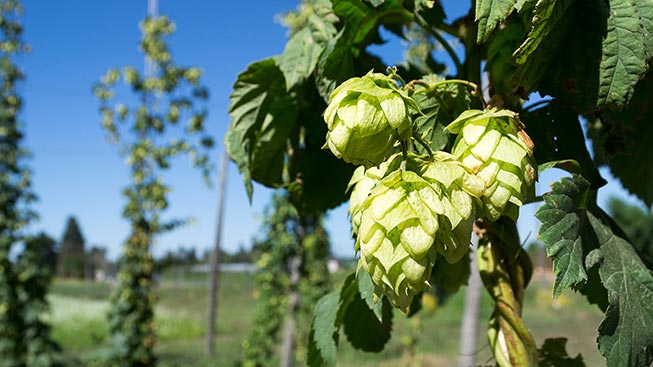
The first and most basic is the hop itself. Look at the type and try and select more classic American hop types for that typical hop character. Australian and NZ hops can be great, but start with a classic well known hop you know will be great like Cascade, Centennial, Citra, Amarillo. Hops must be fresh and purchased from a reputable source.
The Process
Second is your brewing, fermentation, and packaging process. I don’t bag my hops or use a hop spider. I find that the more surface area the hops have to swim in, the better utilisation.
I have found I get much better taste and aroma from a long hop stand below 80ºC. My IPA’s using have a small bittering amount at 60 min and another small 10 min addition. The rest go in as a whirlpool with a 30-minute hop stand below 80ºC. Many no-chillers in the club have good success with additions to the cube, in combination with dry hopping. A cube hop addition will have the equivalent bitterness of a 20 minute addition for your software (but anecdotally reported to keep more flavour).
For fermentation and packaging, you need to avoid oxygenation by any means possible. While a skilled brewer can make a great bottle-conditioned IPA, I find kegged IPA’s to be much better. Less chance of O2 pick up.
The Dry Hop
Drinking an IPA is as much about smell as it is taste. A great IPA can be smelled across the room when opened. You need to make sure you dry hop a decent amount (100-200g for a 23 batch). I see many brewers adding tiny amounts of hops to their IPA’s which will have an effect but won’t compare to a bigger hopping amount. As Steve of Hoppydays fame says, “needs more hops”. I have found a 3-4 day dry hop nets better results than a longer one. Again, I let them swim free without a bag for best surface area contact.
The Water
The final and probably the most overlooked issue to address to water profile. While Brisbane water is ok for many styles (with the appropriate removal of chlorine and chloramine), it certainly benefits from some salt additions help some styles. Particularly hoppy beers.
The aim for hoppy beers is to balance the right level of sulphate/chloride ratio. It is said that chloride enhances the malty aspects of the beer and provides a silkier mouthfeel. Whereas sulphate has a drying effect which accentuates the dryness/bitterness and hoppy character of a beer. It seems most brewers go between 2:1 and 4:1 ratio being 2ppm sulphate to 1ppm chloride.
My IPA’s are generally on the higher side (4.9:1) with 300ppm Sulfate to 61ppm Chloride. Looking at a recent Black Hops article, their Pale Ale uses a 3:1 ratio being with 150ppm Sulfate to 50ppm Chloride. You may want to experiment on your own to see if you can perceive any difference between a 2:1 and 4:1 ratio.
For hoppy beers I used the Pale Ale profile on Bru n Water using the following profile: Pale Ale & IPA Water profile: 140 Ca, 18 Mg, 38 Na, 300 S04, 61 Cl, 5.3pH
Nailing your water profile and pH for both mash and sparge water will certainly help any beer style but in my opinion, is crucial for hoppy beers.
BABBS Water for Dummies
If all the above about water has gone over your head. Don’t stress. Water chemistry while appears daunting, is easier than you think. Follow this simple 5 step process:
- Step 1 – Download Bru’N Water
- Step 2 – Drink a beer and forget that it’s a messy, complex looking excel file. It’s not too hard to use once you get used to it.
- Step 3 – Watch this video on how to use Bru n Water.
- Step 4 – Enter the following Brisbane Water Profile* into the “Water Report Input” tab: Calcium (Ca) 26, Magnesium (Mg) 15, Sodium (Na) 44, Potassium (K) 3, Iron (Fe) 0, Bicarbonate (HC03) 117.1, Carbonate (C03) 0, Sulphate (S04) 25, Chloride (Cl) 73, Nitrate (NO3) 0, Nitrite (NO2) 0, Flouride 0.8, Total Alkalinity 96, pH 7.69
- Step 5 – Use Bru n Water as described in the video and make better beer
* This is the profile comes from BABBs own commissioned water analyses from March 2019.

