By Dion Clark
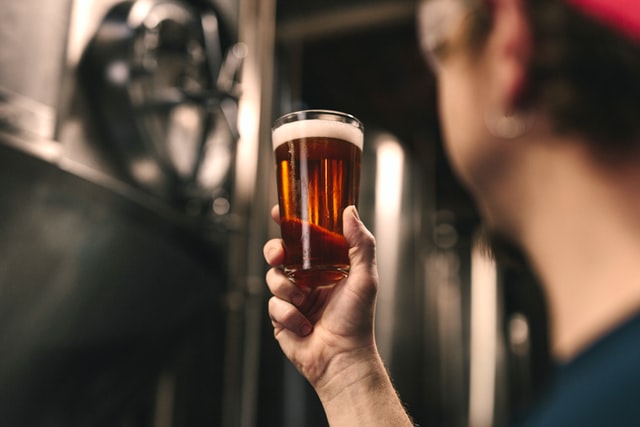
Reaching your proper final gravity is something that newer brewers in particular worry about a lot. Here are some tips.
Learn your tools
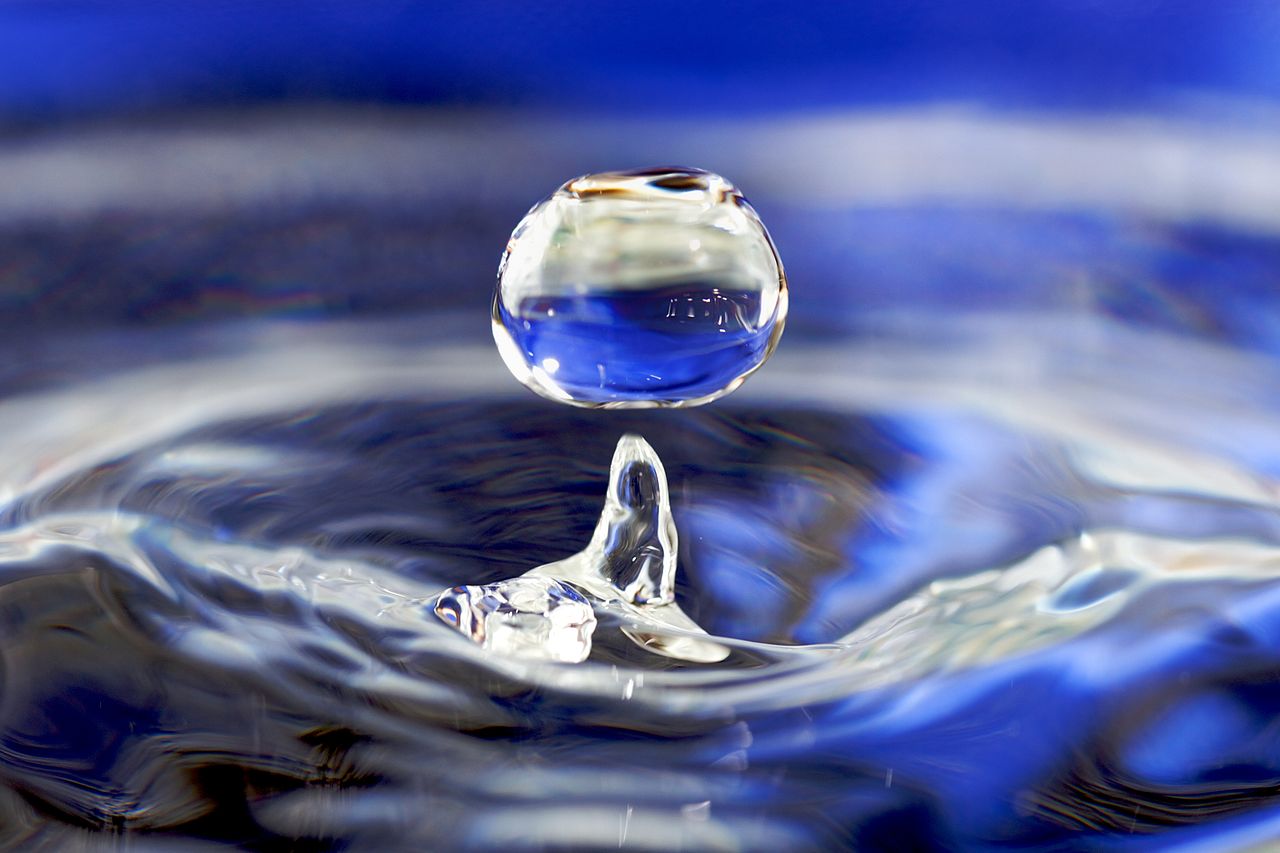
Whatever tool you are using for your gravity readings, be sure that it is calibrated. Either a refractometer or hydrometer should read 1.000 when reading distilled water (the stuff you can get for the iron at the supermarket). Both of them may need to be adjusted for temperature. They are usually calibrated to be accurate at around “room temperature” 20ºC. Finally, remember that a refractometer is best for measuring the density of sugars and is thrown off when alcohol is present. So if using a refractometer for final gravity readings you will need to find an online conversion tool or app.
Know your limits
If you’re not reaching the final gravity you’re expecting to reach, it might be worth reviewing your expectations. Things like a higher mash temperature, and crystal malts in the recipe might make your finishing gravity higher than you expect. Big beers too will always have a higher gravity, It’s unreasonable to expect a 1.120 RIS to finish at 1.010 for example. The one sure fire way to know what your terminal gravity is to use a forced ferment test. This involves taking a sample, and adding more yeast to it, plenty of yeast. Then you measure the final gravity. More information about the forced ferment test here.
Yeet for the the Yeast!
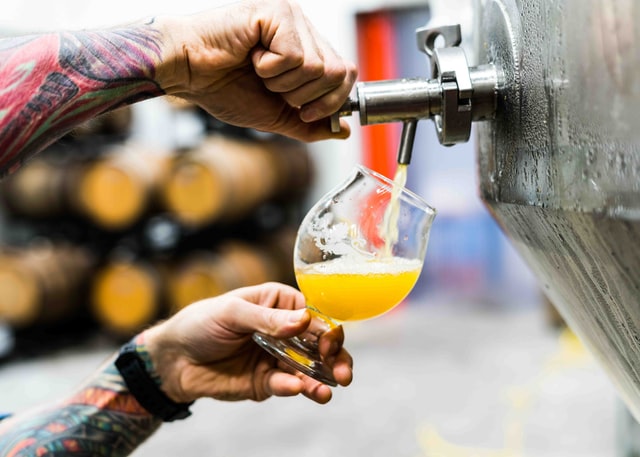
As always you will need to pitch an adequate amount of fresh and healthy or active yeast. This varies greatly depending on what yeast you are using, but in general bigger beers need more yeast, and for colder ferments you’ll also need more yeast to (like lagers). You might like to make a starter to guarantee a healthy pitch. For beers over about 1.050 initial gravity a starter is definitely a good idea. For super high gravity beers it’s often easier to make a small beer, then pitch your big beer onto the resultant yeast cake. With dried yeast, you’ll double the amount of Ale yeast for and quadruple the amount with Lager yeast. For Kveik, take these rules, tear them up, and throw them out the window in a storm.
Each yeast variety will attenuate your wort by a different amount, and this figure is given as a percentage figure, where a higher % means a more attenuated and drier beer. This data will be available on the year manufacturers website.
You can calculate your Apparent Attenuation to compare the figure to the manufacturers expectation using this formula:
Apparent Attenuation = (Original Gravity – Final Gravity ) / Original Gravity

Example:

OG is 1.050, and FG is 1.010

AA  =  (OG - FG) / OG
    =  (50 - 10) / 50
    =  40 / 50
    =  0.8 (or 80%)
It’s getting hot in here! Or is it?
Temperature is an important factor, which again comes back to your yeast activity. It’s often recommended to ferment at the bottom end of the recommended range for a given yeast for a clean ferment. While this is true, you need to be aware that some yeasts may stall if not given a sufficiently warm environment to work in. Some are more prone to this than others, so again, read up on your yeast strain. Generally it’s a good practice to allow your temperature to rise after the initial period of fermentation to help if fully finish. This also has the added benefit of taking care of any potential diacetyl problems you might have.
Give yourself the best chance
Some general hints that will help you have the best chance of reaching your target gravity. Oxygenating your wort as well as possible immediately before yeast pitch will help you reach terminal gravity. You can use agitation to do this, though some recommend an aquarium stone and pump, or bottled oxygen. Yeast nutrient is also said to help beers reach final gravity.
Take your time
Be patient grasshopper. For normal yeasts you should allow fermentation to progress for two weeks. Sometimes it can take longer than this. Assuming you have followed reasonable sanitation procedures, there’s no harm that can come to your beer by letting it rest a bit longer in the fermenter.
Photo by Evan Dvorkin on Unsplash